From this image, we can build a precise and personalised treatment plan, discussed with you in real time.
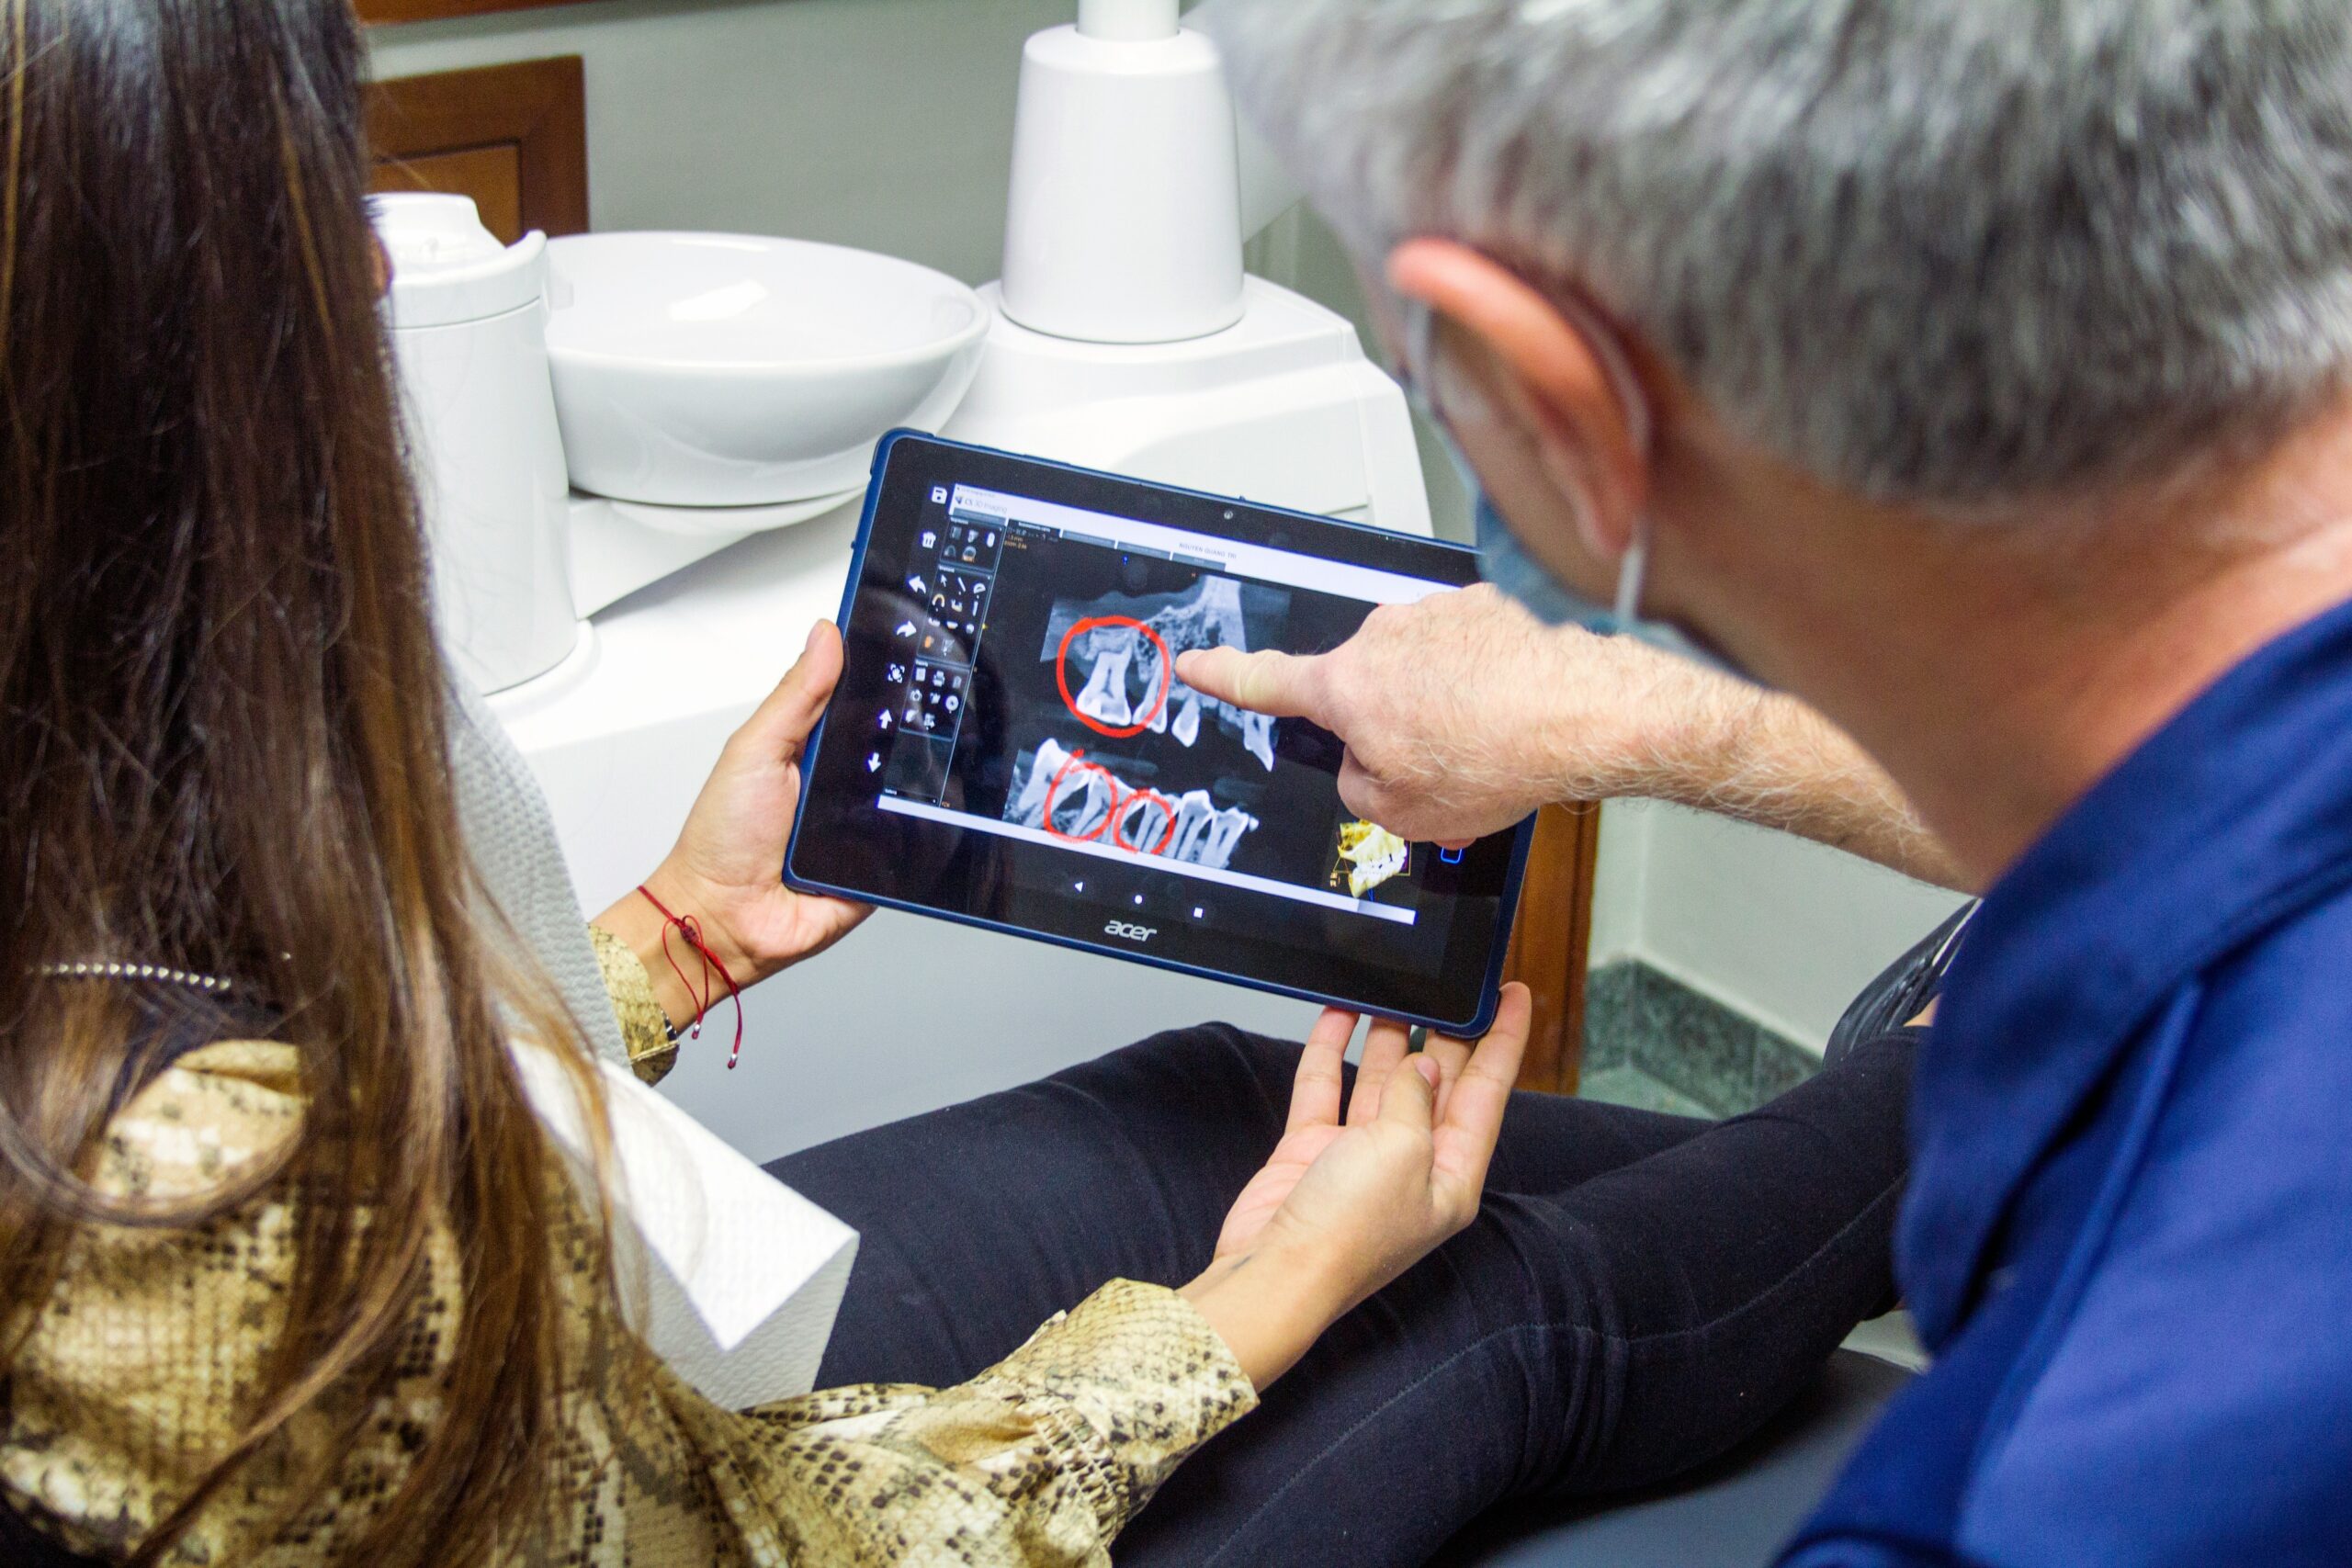
It takes less than two minutes to take the image and view it together on our large 63-inch screen, right from the dental chair. This allows you to clearly see what we see — making every diagnosis transparent and easy to understand.

Step 1: Preparation for the X-Ray
Before starting the OPT X-ray, your dentist or hygienist will guide you through the process, ensuring you’re comfortable and informed. You’ll be asked to sit in the dental chair, and we’ll ensure that you’re positioned properly in front of the X-ray machine. The exposure to radiation is very low, so in most cases, no protective vest is needed for the OPT X-ray.
We’ll ask you to remove any metal objects, such as jewelry or glasses, which might interfere with the imaging. Once you’re ready, we’ll position you correctly for the scan to ensure we capture a full image of your mouth.
Step 2: Taking the X-Ray
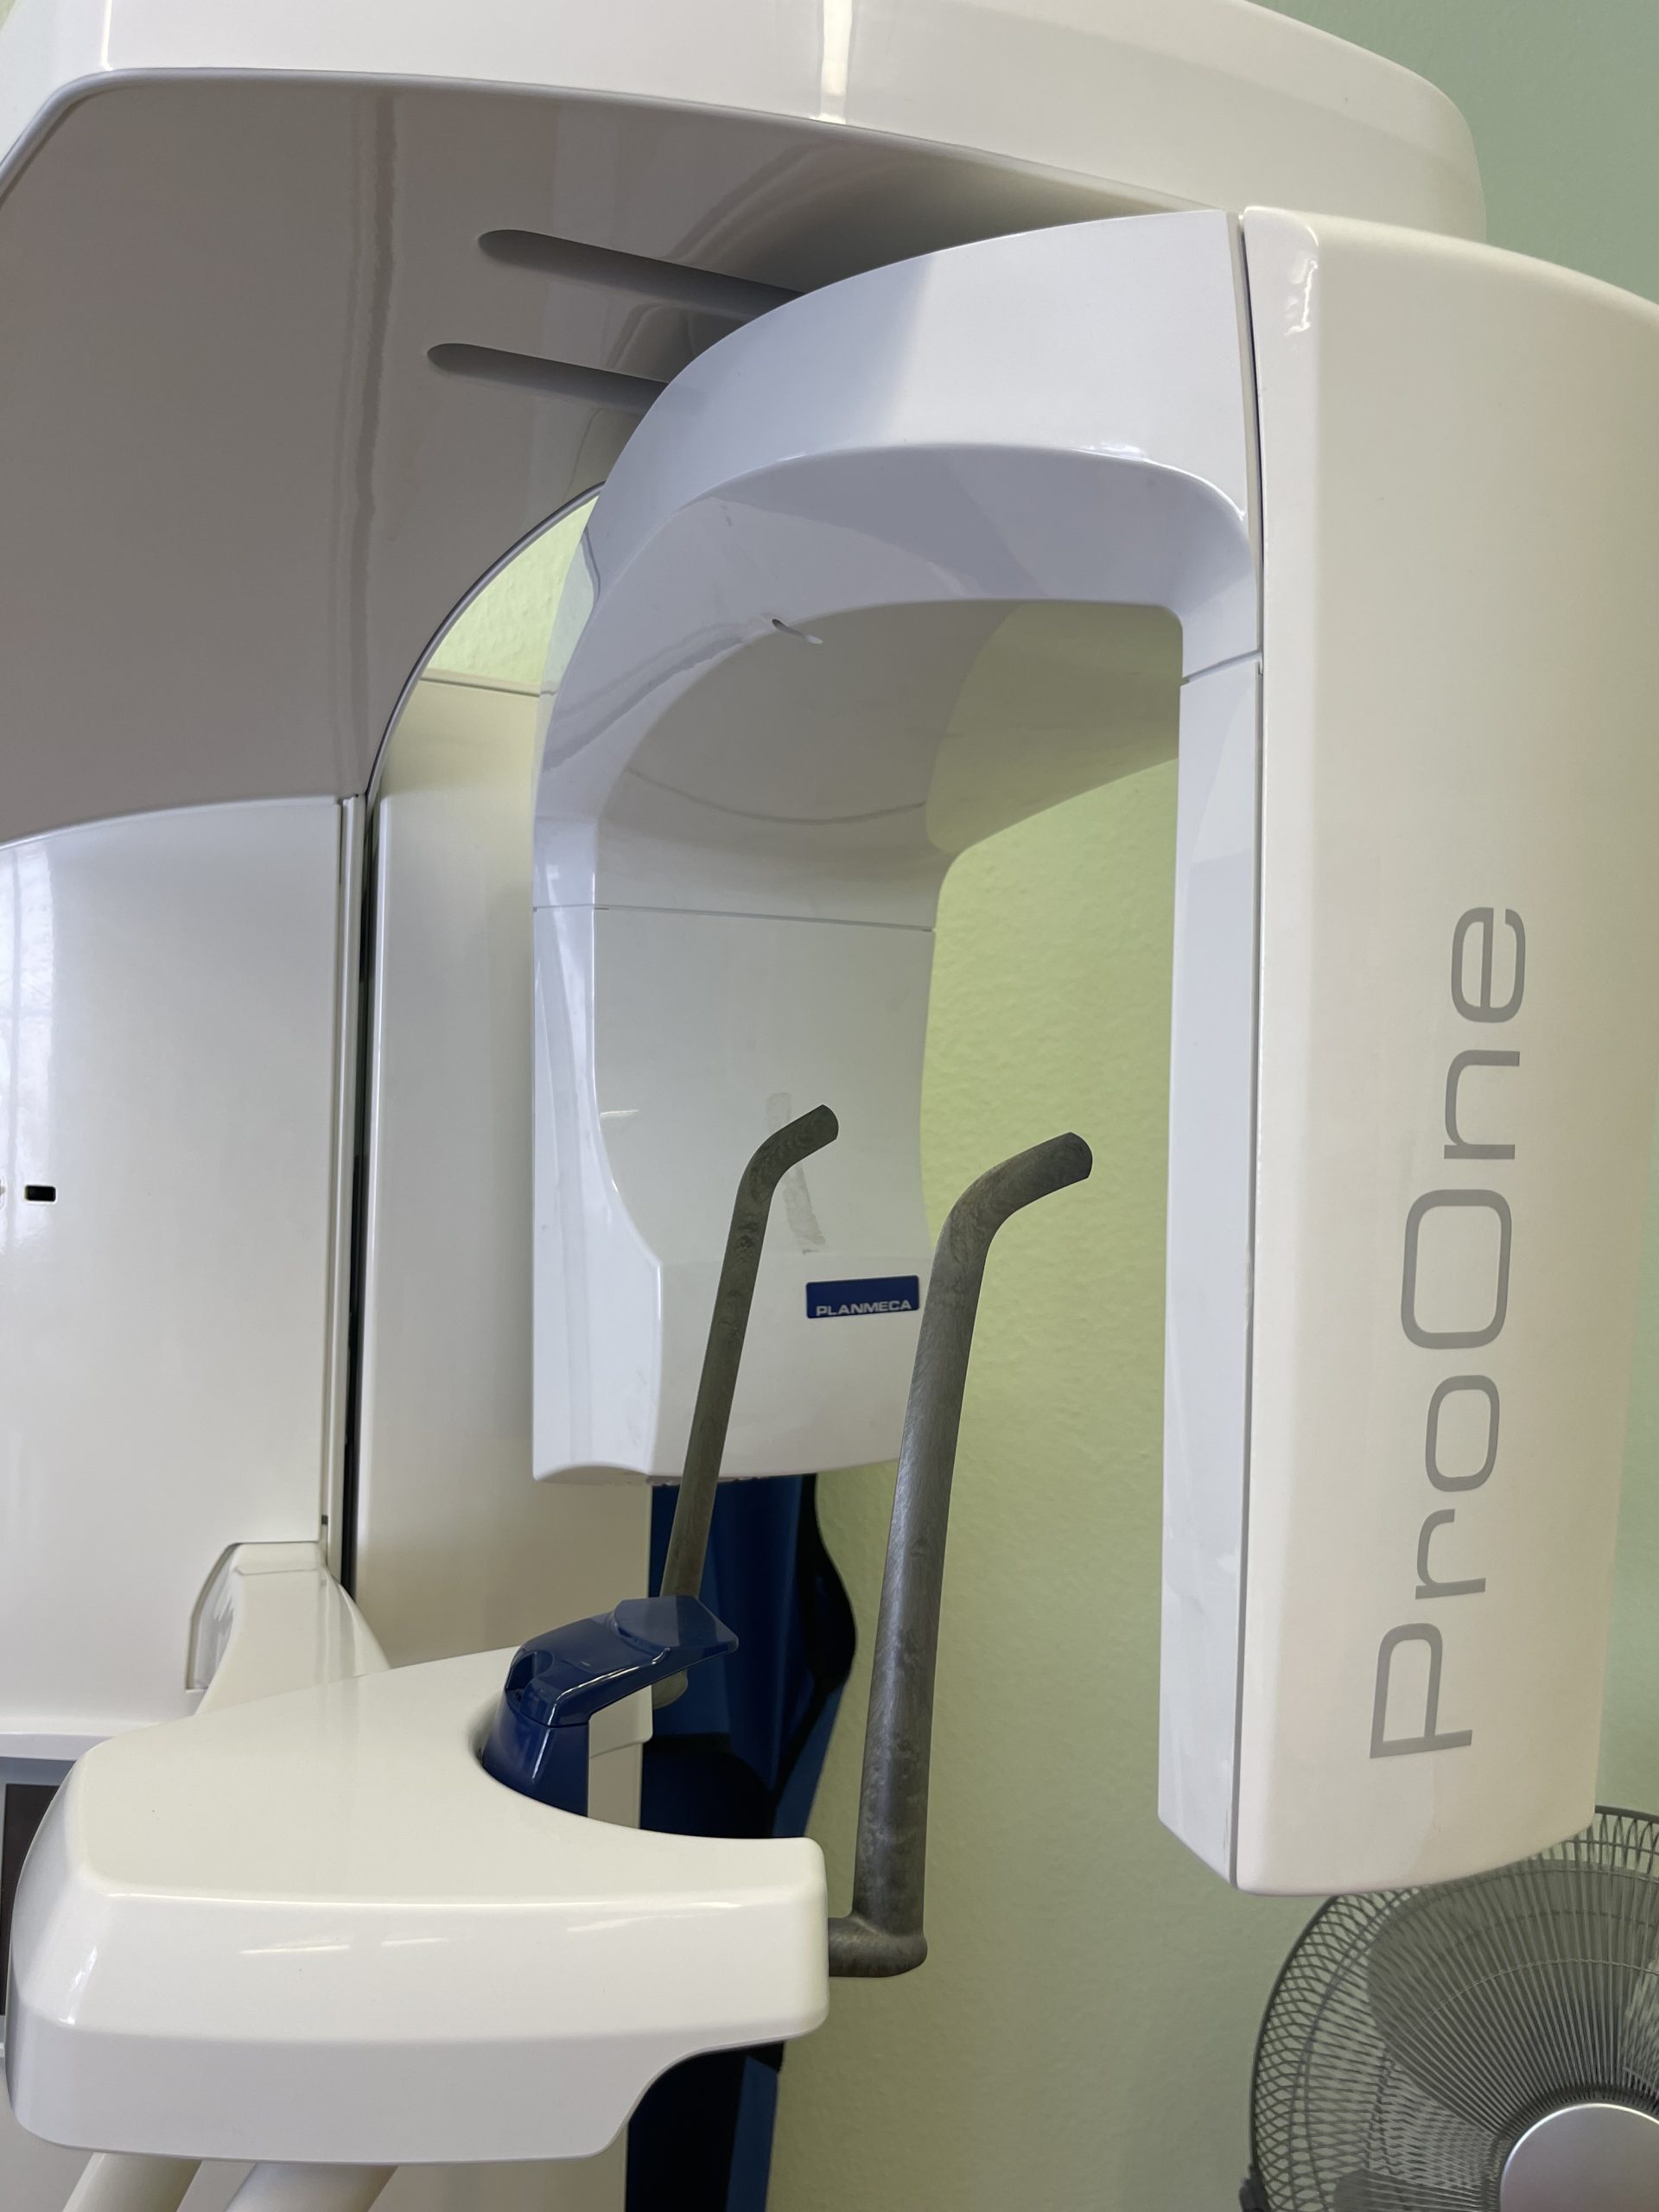
Once you are comfortably seated and positioned, the next step is taking the X-ray itself. The OPT X-ray machine is designed to capture a full, panoramic image of your entire mouth, including your teeth, roots, jawbones, and even your wisdom teeth, which may not be visible during a regular exam.
The process is quick, typically taking less than two minutes. During this time, we will gently guide you to remain still, ensuring that the image is clear and accurate. You will be asked to bite down lightly on a small bite block, which helps to position your teeth correctly for the scan.
As the machine rotates around your head, it will capture a detailed image of your mouth. This rotation is smooth and comfortable, and there’s no need to worry about discomfort — you simply need to stay still while the machine does its job.
The advantage of this type of X-ray is that it provides a comprehensive view of your entire oral structure in one single image, rather than taking multiple shots. This means that in just a few moments, we have a complete overview of your teeth, gums, bone structure, and jaw, which helps us detect any potential problems early on.
The minimal radiation exposure involved in the procedure ensures that it’s both safe and effective, and it helps us gather the information needed to give you the best care possible. Our equipment is up-to-date with the latest technology to keep radiation levels as low as possible, while still providing high-quality images.


Step 3: Viewing the X-Ray Image
After the scan is complete, we’ll immediately display the image on a large 63-inch screen right in front of you. This allows you to see the X-ray in detail and better understand your dental health.
Your dentist will explain the findings, pointing out areas of interest and answering any questions you may have. This transparency helps you feel informed and confident about your diagnosis and treatment options.
Step 4: Diagnosis and Treatment Planning
Once the X-ray image is reviewed, your dentist will discuss the results with you. The OPT X-ray helps us identify:
-
Hidden tooth decay or cavities
-
Jawbone conditions (such as bone loss due to gum disease)
-
Impacted wisdom teeth
-
Issues with jaw joints (TMJ) or other bone structures
If any issues are found, your dentist will propose a personalized treatment plan. Early detection allows us to treat problems before they worsen, helping you maintain a healthier smile.
In many cases, the OPT X-ray provides reassurance — showing that your oral health is in good shape. However, if any concerns are detected, we can address them early, preventing more serious problems down the road.
The OPT X-ray is an essential tool to ensure that your smile stays healthy, and it helps us provide you with the best possible care.
Use our online contact form dentist in Basel to schedule your appointment.


